


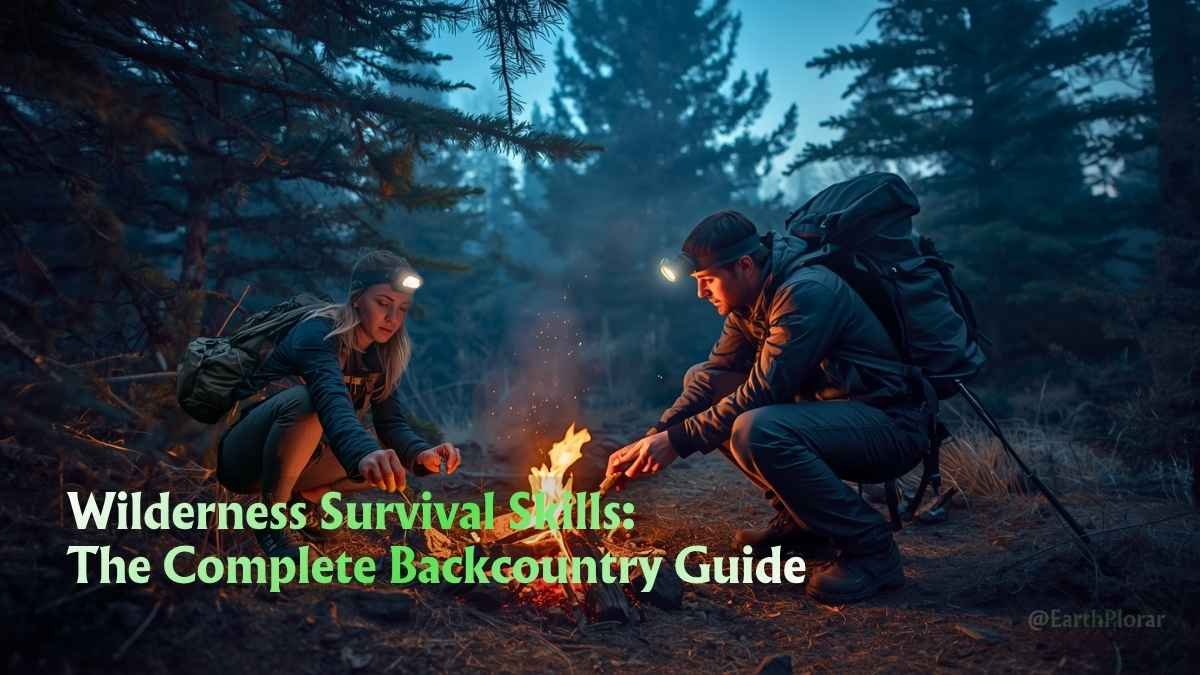
The moment the trail disappears, the map becomes useless, or the temperature drops without warning — that’s when wilderness survival skills stop being theoretical and become the only thing that matters. Every year, thousands of hikers, hunters, and backcountry adventurers find themselves in unplanned emergency situations. Many survive because someone in the group knew exactly what to do. Some don’t.
- Why Wilderness Survival Skills Are Non-Negotiable
- The 5 Pillars of Backcountry Survival
- Wilderness Survival Skills — Starting with Shelter
- Fire-Starting Techniques: From Friction to Flame
- Finding and Purifying Water in the Backcountry
- Navigation Without Technology: Reading the Backcountry
- Signaling for Rescue: Make Yourself Findable
- Essential Backcountry First Aid Skills
- The Survival Mindset: Your Most Powerful Tool
- FAQs About Wilderness survival skills
- Your Backcountry Safety Starts Before You Leave the Trailhead
This guide is your starting point. Whether you’re planning your first overnight trek or your fiftieth multi-day expedition, the skills below could save your life. Read carefully. Practice often. And never head into the backcountry unprepared.
Why Wilderness Survival Skills Are Non-Negotiable
Most outdoor emergencies don’t announce themselves. A ankle roll at dusk, a sudden storm rolling in above treeline, a river crossing gone wrong — these situations escalate fast. The difference between a harrowing story you tell around the campfire and a tragedy is almost always preparation.
According to the National Park Service, the leading causes of backcountry search-and-rescue operations include:
Every one of these outcomes is preventable. The solution is the same in each case: build your skill set before you need it.
The 5 Pillars of Backcountry Survival
Wilderness survival professionals — including instructors at the National Outdoor Leadership School (NOLS) — organize survival priorities around a simple hierarchy. In a genuine emergency, address them in this order:
This hierarchy isn’t arbitrary. Exposure kills faster than dehydration. Dehydration kills faster than hunger. Understanding the why behind this order keeps you from wasting precious energy on the wrong priority.
Wilderness Survival Skills — Starting with Shelter
Why Shelter Is Always Priority One
Your body loses heat roughly 25 times faster in wet conditions than in dry air. When the temperature drops, even a mild 55°F evening can trigger hypothermia if you’re wet, exhausted, and exposed to wind. Shelter isn’t about comfort — it’s about buying time.
Before you move a single branch, think about site selection:
How to Build an Emergency Debris Hut
A debris hut is one of the most effective emergency shelters you can build with zero equipment. It uses the insulating power of natural materials to trap your body heat.
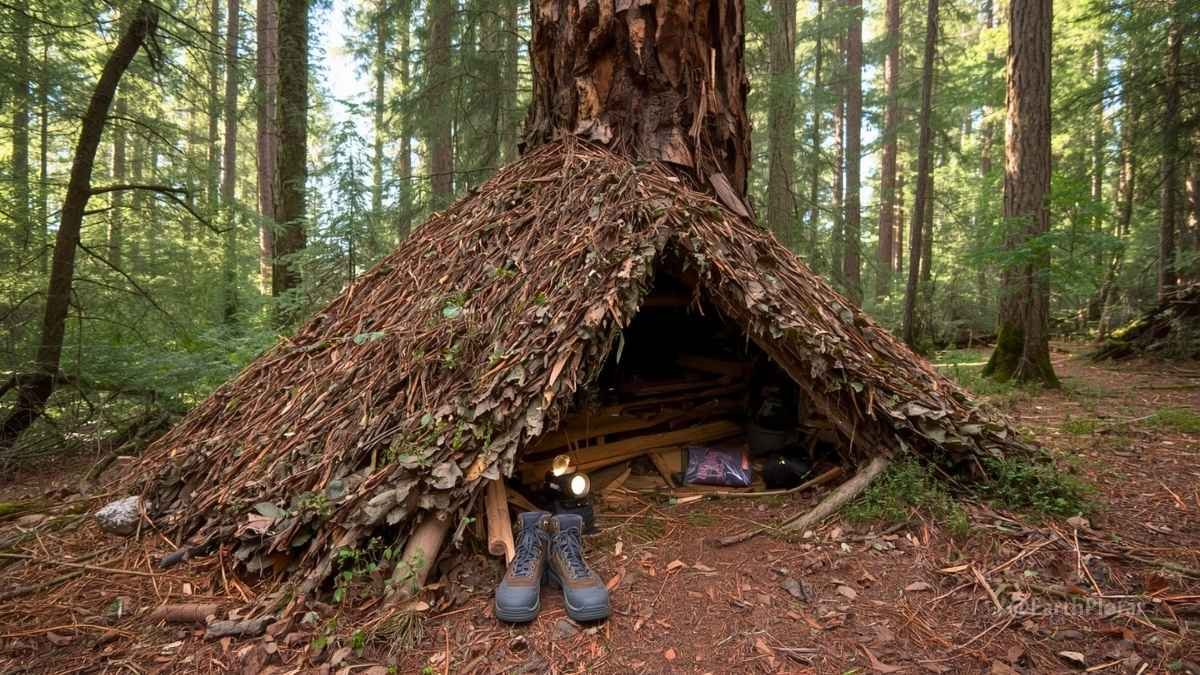
What you need: Fallen branches, dry leaves, pine needles, bark, or any organic ground cover.
Step-by-step construction:
A well-built debris hut can hold your body heat even in freezing conditions. Practice building one before an emergency — it takes 1–2 hours and the technique is far more intuitive once you’ve done it once.
Pro tip from NOLS instructors:
The hut should be barely large enough for your body. Extra space means extra air to heat, which means faster heat loss.
Fire-Starting Techniques: From Friction to Flame
The Psychology of Fire
Fire provides warmth, water purification, signaling capability, and — critically — morale. In survival situations, maintaining a positive mental state is a physiological necessity, not a luxury. Fire achieves all of this simultaneously.
Always carry at minimum three fire-starting methods:
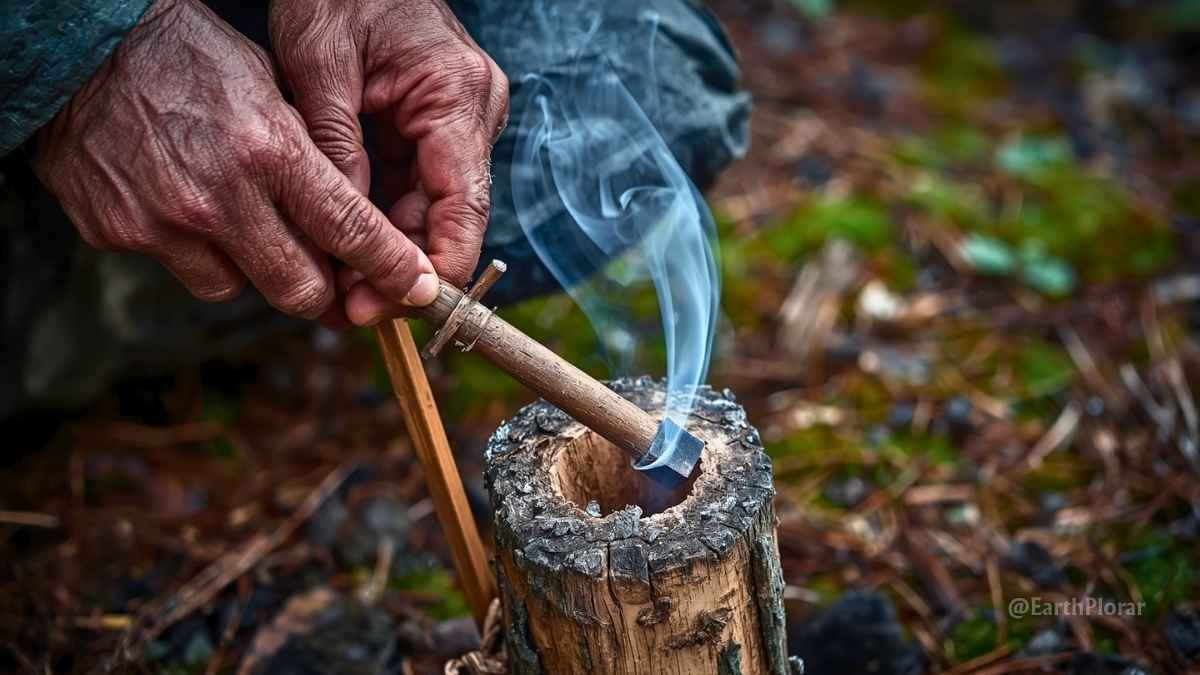
How to Start a Fire Without Matches in the Wilderness
If your modern fire-starting tools fail, friction fire is your fallback. The bow drill method is the most reliable primitive technique:
Materials needed:
The process:
The bow drill takes practice. If you’ve never done it before, don’t expect to succeed in a cold, stressed emergency situation. Practice at home, in your backyard, in all conditions.
Building a Sustainable Fire Lay
Starting a flame is step one. Sustaining it is step two. Use the log cabin lay for longevity:
Never use green (living) wood as fuel — it produces smoke without heat and exhausts your fire. Dry, dead wood burns clean and hot.
See also on EarthPlorar: The Best Survival Fire Starters Tested in the Field | 10 Campfire Cooking Techniques for Backcountry Trips
Finding and Purifying Water in the Backcountry
Dehydration impairs judgment before it causes physical collapse — and impaired judgment is dangerous in a survival scenario. You need water within 24 hours. Finding and purifying it safely is a core backcountry survival skill.
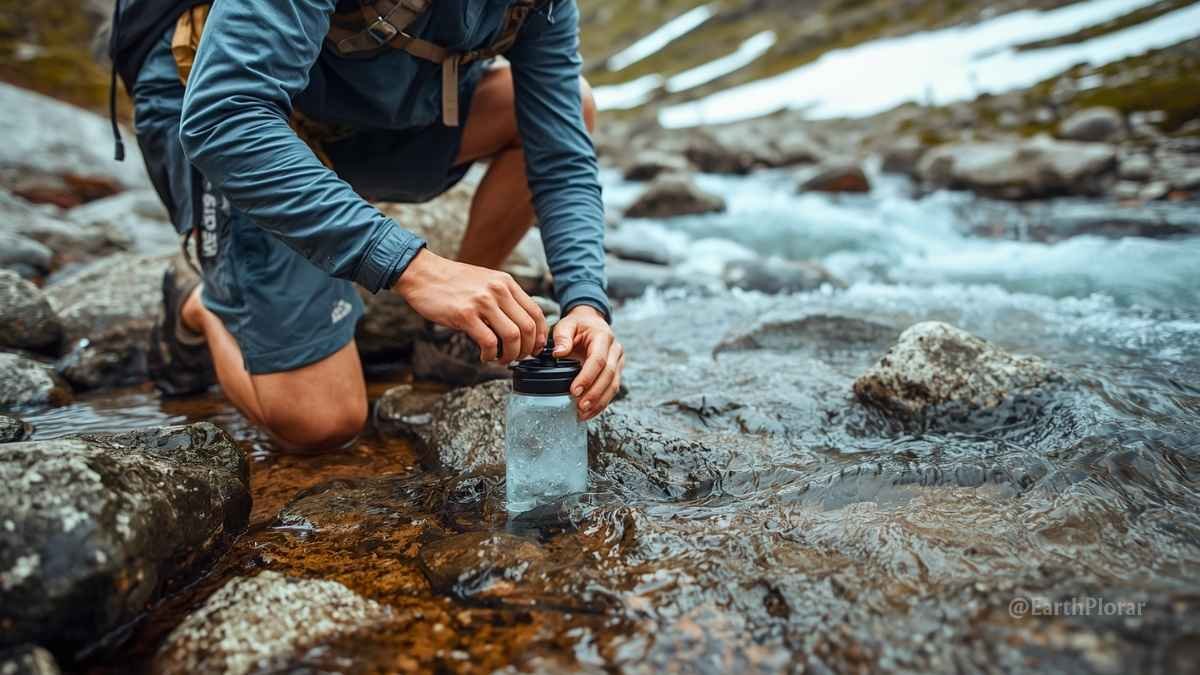
Locating Water Sources in the Wild
Water Purification Methods Ranked
Never drink untreated backcountry water, regardless of how clean it appears. Giardia and Cryptosporidium are invisible to the naked eye.
| Method | Effectiveness | Speed | Notes |
|---|---|---|---|
| Boiling (1 min rolling boil) | ✅ Excellent | Moderate | Kills all pathogens; no taste issues |
| Chemical tablets (iodine/chlorine) | ✅ Good | 30–60 min | Compact; altered taste |
| Pump filter | ✅ Excellent | Fast | Filters sediment and bacteria |
| UV pen (e.g., SteriPen) | ✅ Excellent | Fast | Needs batteries; fails if water is murky |
| Solar disinfection (SODIS) | ⚠️ Moderate | 6–48 hrs | Needs clear PET bottle and direct sun |
Carry a lightweight filter as your primary method (the Sawyer Squeeze and Katadyn BeFree are field-tested favorites) and chemical tablets as a backup.
Navigation Without Technology: Reading the Backcountry
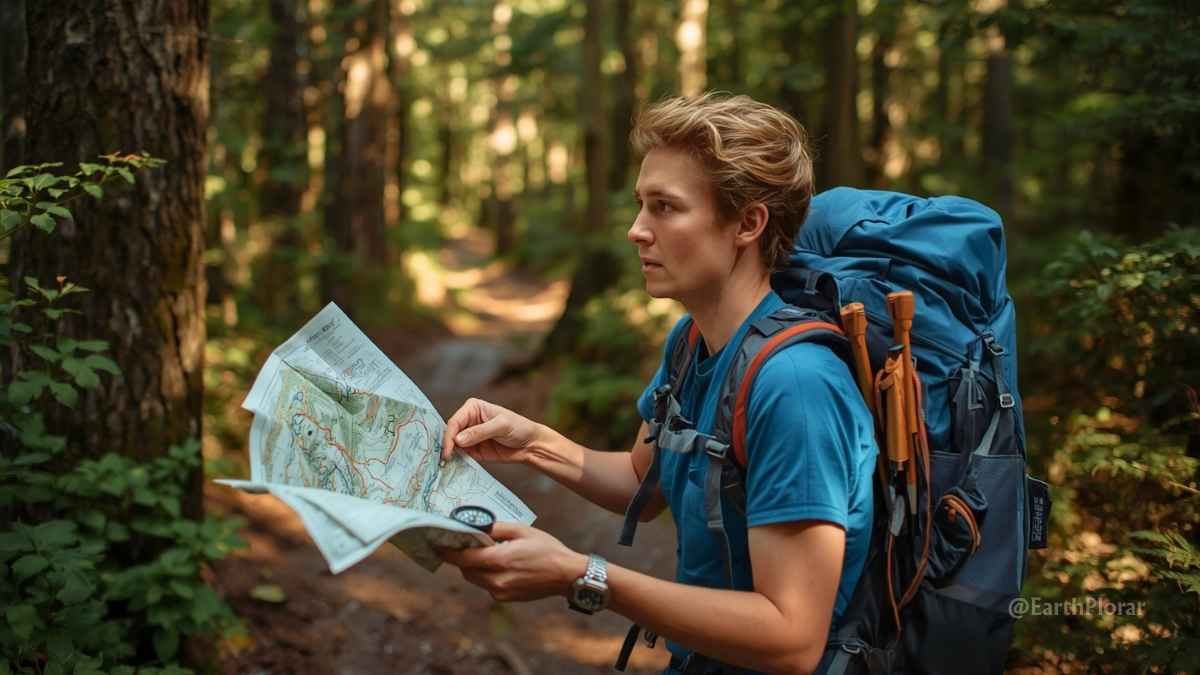
What to Do If You Get Lost in the Woods
If you realize you’re lost, remember S.T.O.P.:
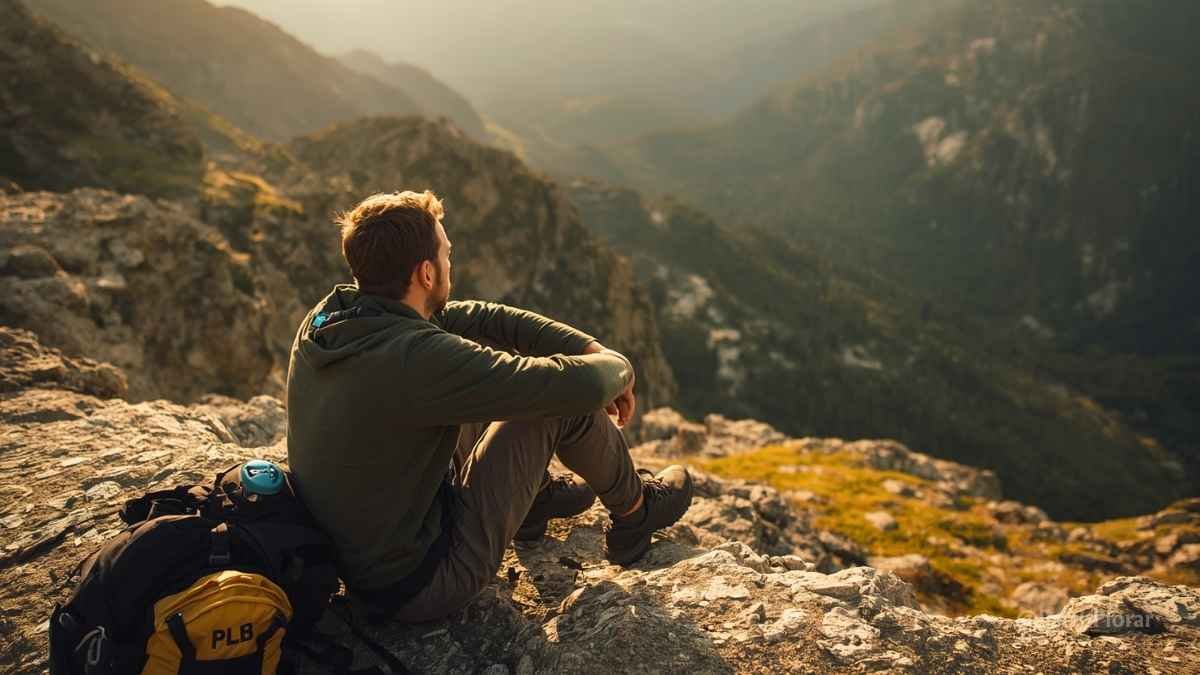
If you have any mobile signal, activate your location via the GEOS emergency response network or a personal locator beacon (PLB). If you don’t, stay put. Rescuers will search from your last known point. Moving makes you harder to find.
Natural Navigation Techniques
Related on EarthPlorar: How to Use a Topographic Map and Compass | Best GPS Devices for Backcountry Navigation
Signaling for Rescue: Make Yourself Findable
When rescue is your goal, visibility is everything. Use every tool at your disposal:
Essential Backcountry First Aid Skills
Outdoor emergency preparedness extends to medical response. A remote first aid certification — available through organizations like NOLS Wilderness Medicine or SOLO Wilderness Medicine — is the single best investment any serious backcountry traveler can make.

Managing the Three Most Common Backcountry Emergencies
1. Hypothermia
2. Severe Bleeding
3. Sprained or Broken Ankle
Carry always: A quality wilderness first aid kit. Adventure Medical Kits makes field-specific kits that are compact, comprehensive, and trusted by guides worldwide.
The Survival Mindset: Your Most Powerful Tool
Skills matter. Gear matters. But in a genuine survival situation, mental resilience is the deciding factor more often than any single technique.
Survivors share several consistent psychological traits:
The U.S. military’s SERE training program (Survival, Evasion, Resistance, Escape) identifies will to survive as the foundational element of all survival training. Every other skill rests on it.
FAQs About Wilderness survival skills
What are the most important wilderness survival skills to learn first?
Start with the Rule of Threes: you can survive 3 minutes without air, 3 hours without shelter in harsh conditions, 3 days without water, and 3 weeks without food. This tells you where to focus first. Prioritize shelter-building, fire-starting, and water purification as your foundational wilderness survival skills before anything else.
How do I start a fire without matches or a lighter?
The most reliable primitive method is the bow drill technique, which uses friction to generate an ember from dry softwood. You need a spindle, fireboard, bow with cordage, and a tinder bundle. It takes practice — ideally done at home before you ever need it in the field. Flint and steel, and the hand drill method, are alternatives but harder to master. Always carry a ferrocerium rod as a modern backup.
What should I do if I get lost in the backcountry?
Stop moving and apply the S.T.O.P. method — Stop, Think, Observe, Plan. Do not keep walking in hopes of finding the trail. Stay in one place if rescue is likely (searchers use your last known position as a starting point), create visible signals, and focus on shelter and water. If you have a personal locator beacon (PLB) or satellite communicator, activate it immediately.
How long can you survive without water in the wilderness?
The human body can survive roughly 3 days without water under moderate conditions, but cognitive impairment — poor decision-making, confusion, inability to navigate — sets in much earlier. In hot weather or at high exertion levels, this timeline shrinks significantly. Finding and purifying water should be a top-three priority in any backcountry survival scenario.
Is outdoor emergency preparedness the same as wilderness survival?
They overlap significantly but aren’t identical. Outdoor emergency preparedness typically refers to planning ahead — carrying the right gear, filing a trip plan, knowing local hazards, and having communication tools. Wilderness survival skills are the reactive techniques you use when things go wrong despite that preparation. The ideal backcountry traveler practices both.
What is the best emergency shelter for backcountry survival?
In a true emergency, a debris hut built from natural materials is highly effective if you have time and materials. For planned trips, always carry a lightweight emergency bivy (such as the SOL Escape Bivy) or a reflective emergency blanket. These weigh almost nothing, pack to the size of a fist, and can be life-saving in an unexpected overnight situation.
Your Backcountry Safety Starts Before You Leave the Trailhead
Wilderness survival skills aren’t reserved for extreme adventurers or special operations soldiers. They belong to anyone who spends time outdoors — from weekend day hikers to seasoned mountaineers. The backcountry rewards the prepared and punishes the careless, not out of malice, but simply because nature operates without exception.
Key takeaways from this guide:
The skills in this guide are a foundation, not a ceiling. Consider pursuing a formal Wilderness First Responder (WFR) certification through NOLS or SOLO Wilderness Medicine. Take a local survival skills course. Practice fire-starting and shelter-building in your backyard this weekend.